Screen recording is a great way to improve your productivity and learning process. It allows you to record your screen while you are working, so that you can revisit the material at a later time and review it more easily. There are a number of different screen recorders on the market, but which one is the best for you? In this article, we will discuss a few of the best ones for creating tutorials. From simple and basic options to more advanced options, we have something for everyone. So be sure to read on to find the right screen recorder for your needs!
What are the Best Screen Recorders for Creating Tutorials?
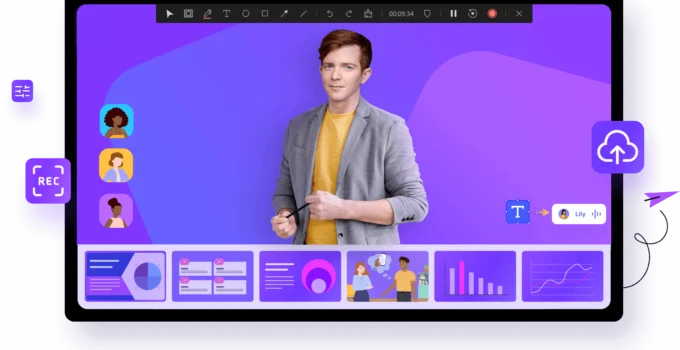
Source: pinterest.com
There are a lot of great screen recorders for creating tutorials, but which one is the best for you? Here are some of the best ones for creating tutorials:
– OBS Studio: This is a great all-in-one screen recorder that has many features for creating video tutorials. It has a wide range of options and settings, making it suitable for professional and amateur video creators. It also has an easy-to-use interface, making it perfect for beginner or intermediate users.
– XSplit Gamecaster: Another one that’s perfect for creating video tutorials. It has a wide range of features, including support for multiplayer gaming, which makes it ideal for streaming your videos online. Plus, it has an easy-to-use interface that will make recording and editing your videos simple.
– EZ Video Creator: This is a free screen recorder that’s ideal for beginners who want to create basic video tutorials. It has an easy drag and drop interface, making it simple to add content and graphics to your videos. Plus, it supports audio recordings so you can include sound effects and music in your videos without having to purchase separate software.
What are the Best Features of a Good Screen Recorder for Tutorials?
There are a variety of features that make a good screen recorder for tutorials the perfect tool for creating instructional videos. Some of the most important features include: robust capture capabilities, easy-to-use editing tools, ability to share recordings online, and support for various media formats.
The best screen recorders for creating tutorials have powerful capture capabilities that allow you to easily record everything on your screen. These programs also have easy-to-use editing tools that make it easy to trim and merge recordings, add music or sound effects, and more.
Some of the best screen recorders for tutorials also support various media formats, which means you can easily upload your recordings online so others can access them conveniently. Additionally, many screen recording programs have built-in support for subtitles and other special features that can help make your videos more accessible to viewers who may not be able to read English well.
How to Choose the Right Screen Recorder for Tutorials?
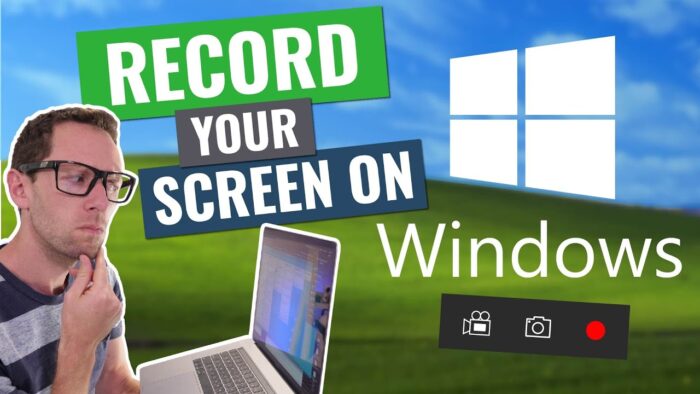
Source: youtube.com
When choosing the right screen recorder for creating tutorials, there are a few things to consider.
– First, you should decide what type of tutorial you are creating. Whether you are looking to create a video explaining how to use a certain application or how to perform a specific task, different screen recorders will be better suited for different tasks.
– Second, you should consider the specific features that you need in your screen recorder. Some of them offer advanced recording options like voiceover recording and screen capture, which can be helpful for creating detailed tutorials.
– Third, make sure that the screen recorder is compatible with your computer and accessories. Some of them require specific software or hardware in order to function properly, so be sure to check the specifications before purchasing.
– Fourth, make sure that the quality of the recordings is high enough for your purposes. High-quality recordings will look better on YouTube and other video sharing websites, and they will help make your tutorials more understandable for viewers.
– Finally, consider budget when selecting a screen recorder – some inexpensive options offer great value for money and are perfect for beginner users who are just starting out in screen recording.
What Types of Files Can Be Recorded with a Screen Recorder for Tutorials?
There are many types of files that can be recorded with a screen recorder for tutorials. Some examples include video recordings of your computer screen, audio recordings of you talking, or footage of you working on a project. Whatever type of file you need to capture, there is a screen recorder for that!
– To get started, decide what type of file you want to record. Once you have selected the file type, find the appropriate screen recorder for your needs. There are free and paid options available, so it is up to you which one suits your needs best.
– Once you have chosen the right one and downloaded it onto your computer, open it up and start recording! To start recording video, make sure that your computer is awake and plugged in. To start recording audio, make sure that your microphone is connected and turned on.
– Once your recording is complete, just save the file to your desired location and enjoy!
Tips for Using a Screen Recorder for Tutorials
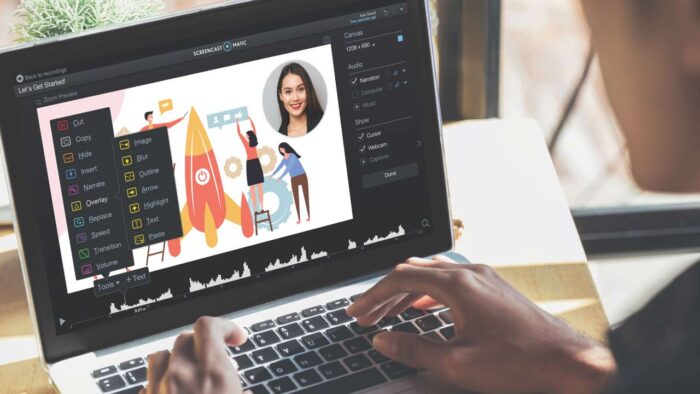
Source: oberlo.com
When creating tutorials, it can be helpful to use a screen recorder. They allow you to easily capture and save your computer screen as a video file. There are a variety of different screen recorders available, and each has its own advantages and disadvantages.
Some of the most popular ones include Windows Movie Maker, QuickTime, and Adobe Captivate. Each has its own strengths and weaknesses. Here are some tips for using a screen recorder for tutorials:
Decide what you want to capture. The first step is to decide what you want to capture. You can capture everything that is on your computer screen, or you can choose specific sections of the screen that you want to focus on.
Choose your recording format. Once you have decided what you want to capture, you need to choose the recording format. Most screen recorders default to either AVI or MP4 formats, but there are many other options available including FLV, MKV, and WMV formats.
Set up your recording environment. Next, you will need to set up your recording environment. This includes choosing your recording device (usually a computer), selecting the resolution at which the video will be recorded (usually standard definition or high definition), and setting up any additional parameters if necessary (such as FPS settings).
Start recording! Finally, start recording by clicking the button on the screen recorder that corresponds with the format that you have chosen.
Conclusion
It seems like every day there are new screen recorders available on the market. So which one should you purchase to create tutorials for your blog or website? In this article, we will list some of the best ones for creating tutorials and help you decide which one is right for you. After reading this article, hopefully you will have a better idea of what features to look for in a screen recorder, as well as some tips on how to use them most effectively.


